Part 1 - Pre-commit hooks in Azure repos
Having standards for code development is a necessity but making sure those standards are followed can be a challenge.
As human beings, we make mistakes and can overlook standards at the very moment we need to apply them.
Central to that challenge is making sure standards are applied before changes are committed.
In this series, we’ll look at taking on that challenge with pre-commit hooks. We’ll explore what pre-commit hooks are, why we might want to use them and how they work.
The challenge(s)
As already mentioned, human beings make mistakes and can forget. We know this! Other issues include:
- Standards are set but never followed
- Creaking peer review process e.g., take too long or done by one person
- Junior team members may simply not know what standards to look for
- Senior team members can overlook standards
- Standards can elicit strong emotional responses in some (zero sum game)
- Bad code costs money
Hooks
Hooks are programs that can be placed in the .git\hooks directory of your git repository, to trigger actions at certain points in the git repository’s execution.
There are several types of hooks such as pre-commit, post-commit, post-receive etc.
As these are programs, you can pass arguments and even change the configuration of where the hooks can be executed from using git-config. For more on this click here.
Now that we have established that we can run programs during various git executions, it is important to understand that you can do this at the client side or at the server side. Both have their merits and purposes but the focus of this post and series will be on the client side. Why? So we can validate our code even before it’s committed.
Using pre-commit hooks
Pre-commit hooks are programs in the hooks directory that run before you commit changes.
Running hooks before you commit changes allows you to embed automated checks that align with code standards and ensure that those checks and standards, even minimum standards are met.
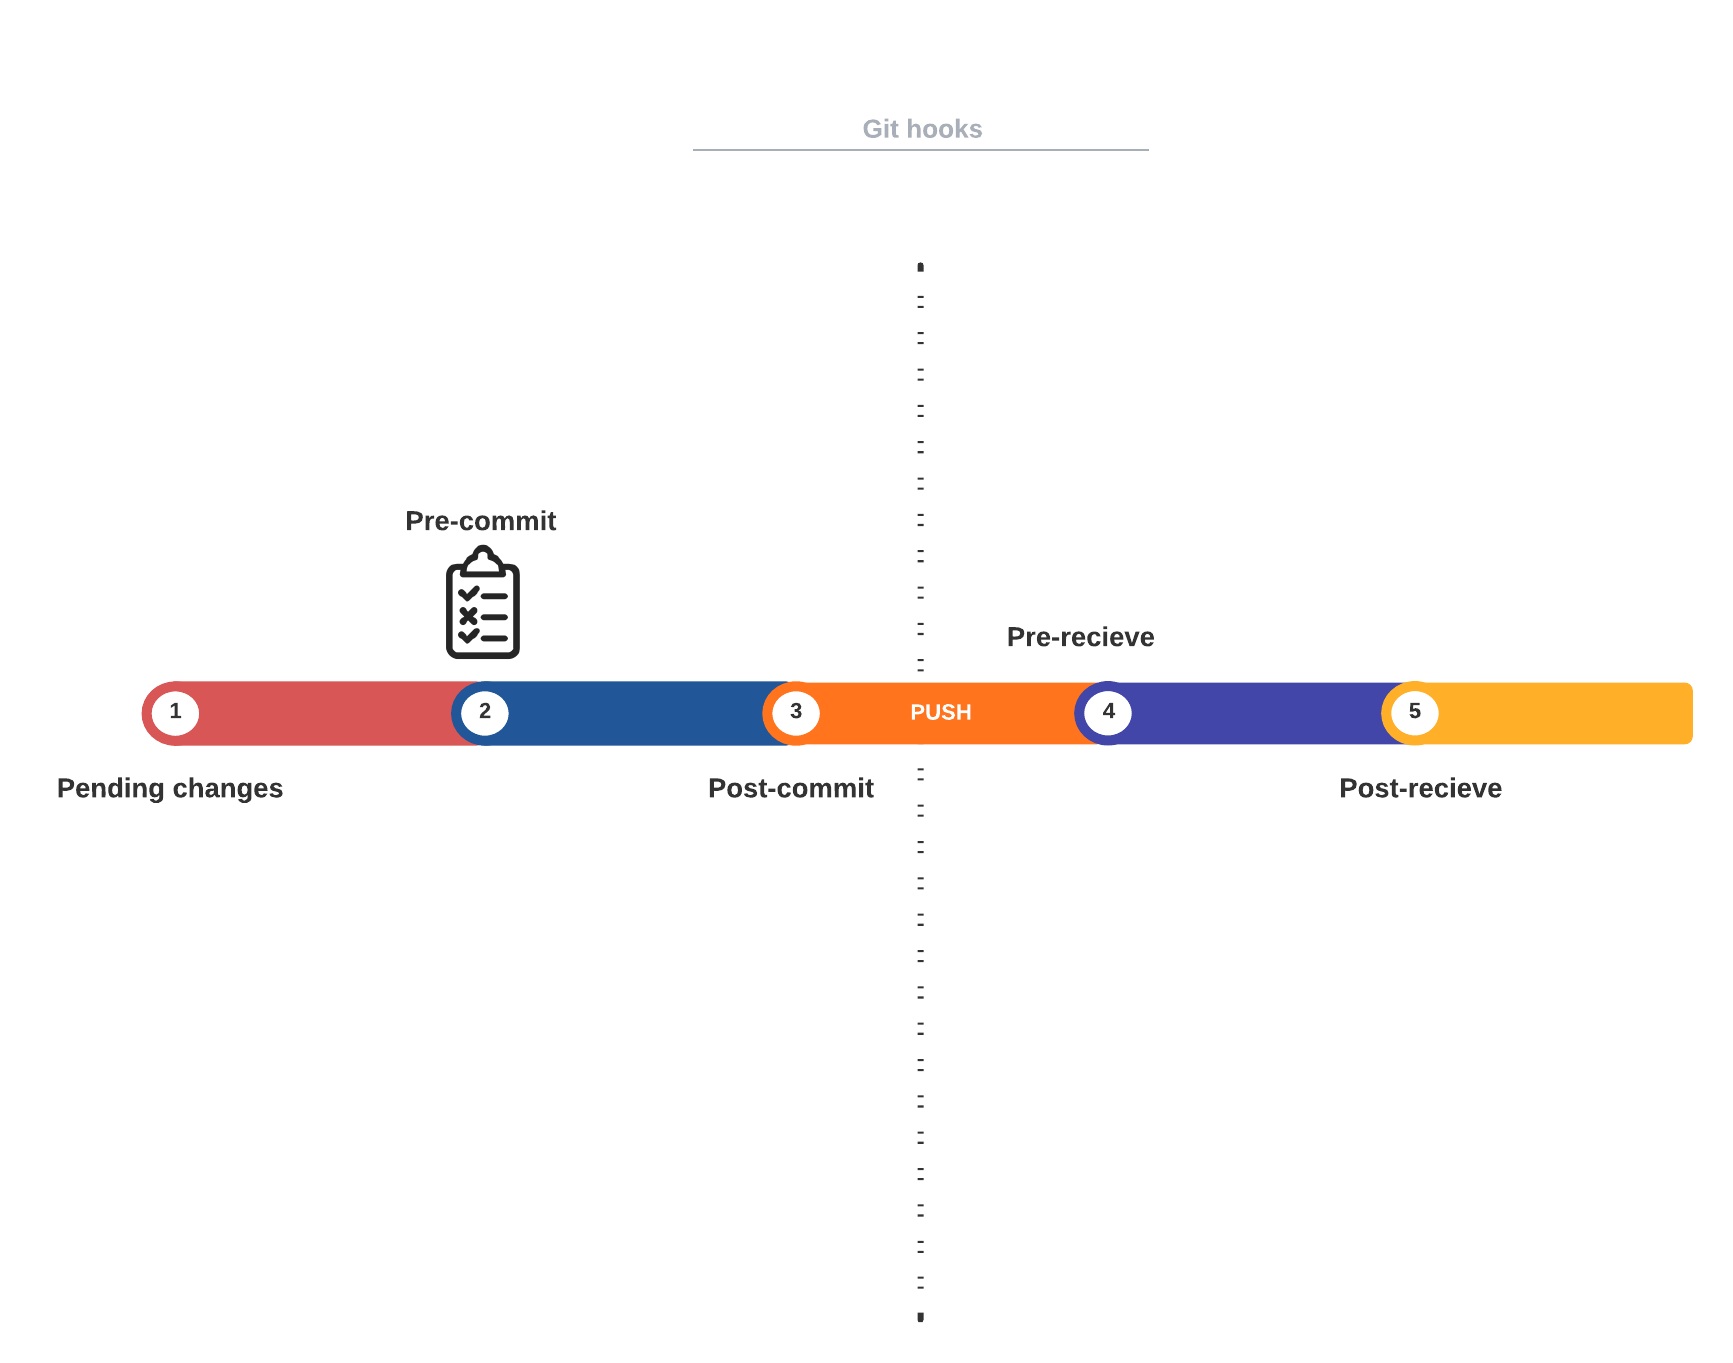
The following illustration shows pre-commit hooks relative to other types of hooks.

The simplified high level execution flow of a pre-commit is as follows:
- Run git commit or
pre-commit run( more on that later), to trigger the pre-commit script - Execute the pre-commit script(s)
- Exit with a zero status to commit changes
- Any non-zero exit statues will prevent the commit e.g., linting issues.
Some of the benefits of this approach are as follows:
Better experience
There’s consequently, a better experience for developers because any changes that fall foul of the pre-commit checks will immediately be flagged.
Clearly defined
Having pre-commit hooks require checks/standards to be defined upfront. This means that there is no ambiguity in what is expected in the quality of the code.
Increased collaboration
Having a better experience and making what is expected clear upfront, means that there is a more collaborative approach where teams are concerned.
Rather than leaving code quality checks to the peer review process or worse, not performing them at all, having checks that run pre-commit means everyone is included from the most junior developer to the most senior.
Better delivery
By having a better developer experience and increased collaboration between team members, better delivery soon follows.
Less time is spent highlighting code issues and more time spent delivering the software to the required standard.
Setting up pre-commit
This section looks at setting up pre-commit hooks using pre-commit, a multi-language package manager for pre-commit hooks.
“You specify a list of hooks you want and pre-commit manages the installation and execution of any hook written in any language before every commit” - pre-commit.com.
Installation
Before you proceed with the setup, make sure you have the following prerequisites in place.
- Git repository (I used Azure git repos)
- Python (I used version 3.10)
The installation of pre-commit is essentially a 3-step process.
Install pre-commit
- Follow installation steps here.
- Validate the pre-commit version using
pre-commit --version
Add a pre-commit configuration
- Create a
.pre-commit-config.yamlfile in the root of the repo
Install the git hook scripts
- Add pre-commit hooks to the
.pre-commit-config.yamlconfiguration file as below or click here for a list of out of the box hooks you’d rather have
repos:
-   repo: https://github.com/pre-commit/pre-commit-hooks
    rev: v3.2.0
    hooks:
    -   id: trailing-whitespace
    -   id: end-of-file-fixer
Example usage
Let us prepare a set of changes that we’ll then stage, prior to commit.
- Copy the following select statement into a
sample.sqlfile in your repo and stage. - The content below has trailing white-spaces and multiple newlines to show how pre-commit can catch issues early.
SELECT
    1 AS one,
    2 AS two
FROM dbo.sample;
Once installed and changes staged:
- Open a command prompt window from your git repo directory, or if you’re using Visual Studio Code, open the terminal in your repo window.
- With the file changes staged, run
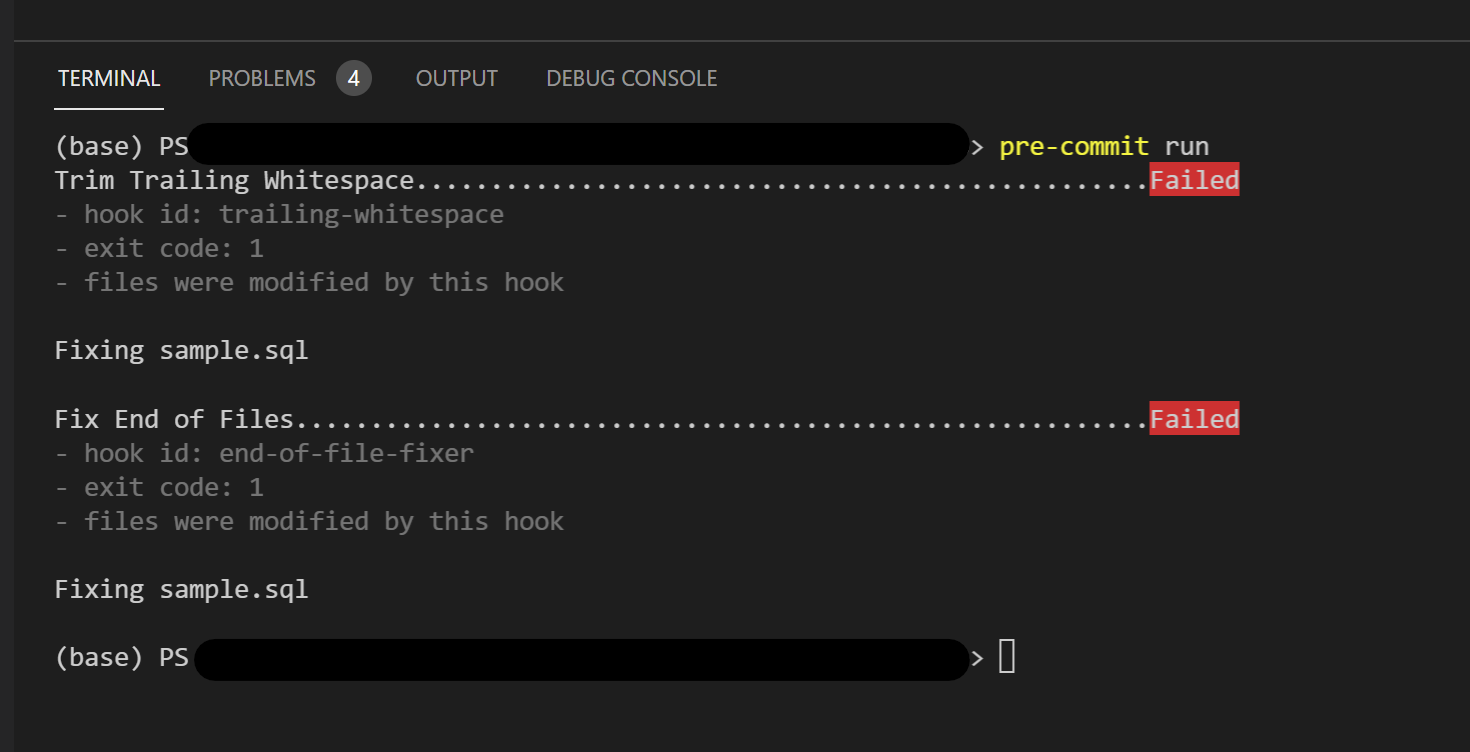
pre-commit runto execute the pre-commit hooks. The following image shows example output.

By running pre-commit run as we have done, we can easily validate changes prior to committing and highlight potential code issues early.
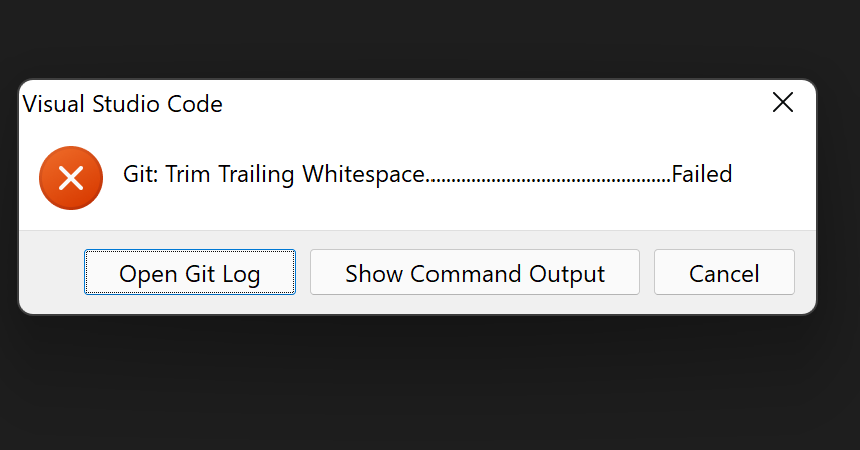
- Discard any changes from the previous run and attempt to check in the previously staged changes.
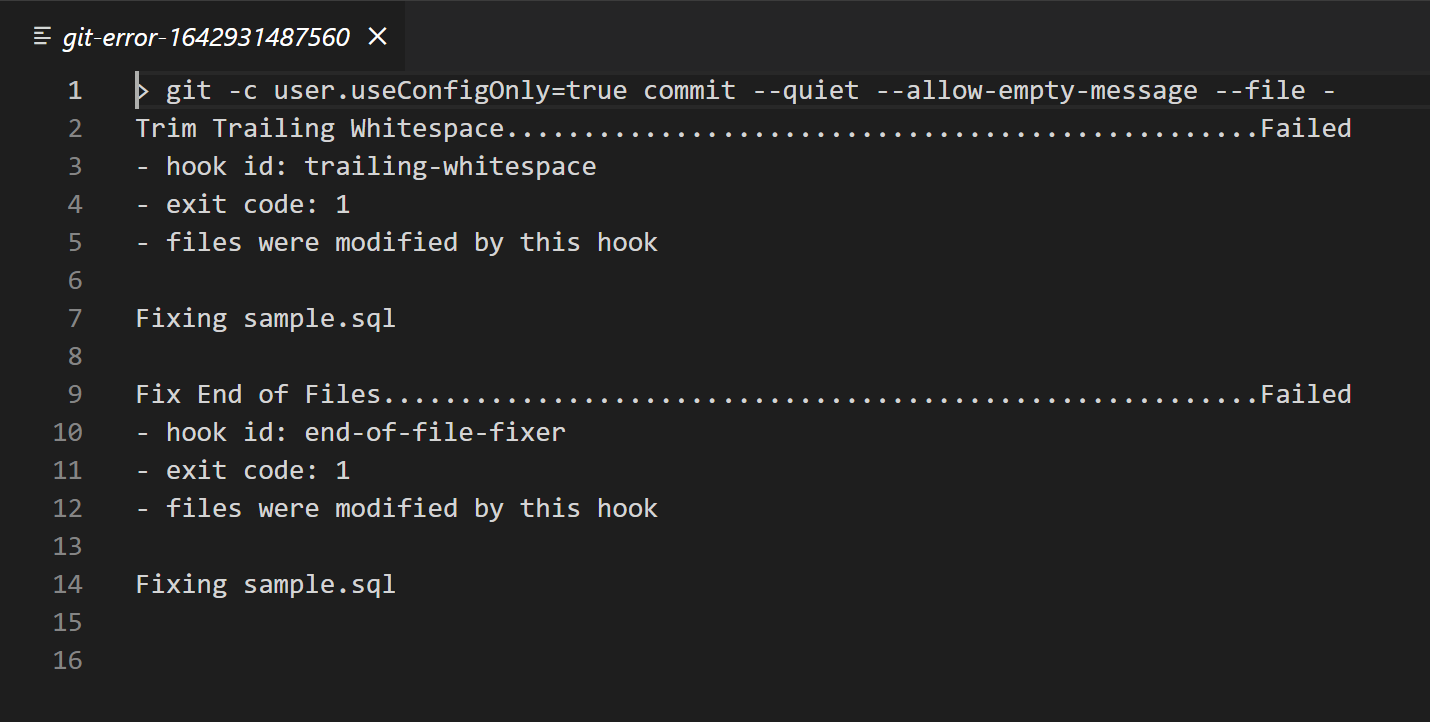
Observe that the commit will be prevented by the pre-commit hook failures. The result should be similar to the following if you’re using Visual Studio code.


And with that, you’ve managed to embed checks to your development process using pre-commit. 😄
Next up, we’ll look at some considerations with using pre-commit.
Considerations
Pre-commit set up
In addition to pre-commit install, you can also run pre-commit install --install-hooks, which will install the pre commit script and the environments for each pre commit hook. If the environments are not set up, they will have to be created at the first execution of the script, which makes for a slightly slower first run.
If you want to know more about the differences between pre-commit install and pre-commit install --install-hooks the following GitHub issue page has a decent summary.
Individual runs
You can run individual hooks easily by executing pre-commit run <hook-id>.
For example, in step 2. of the example usage section of this post, run pre-commit run end-of-file-fixer to demonstrate how you can execute individual hooks.
The following diagram shows the output of the individual run.

Updating hooks
Keep hooks updated by periodically running pre-commit autoupdate or whenever it suits you to benefit from bug fixes or enhancements.

Bear in mind that you can also revert to a previous version if required.

Summary
In the opening post of this 3-part series, we’ve looked at how pre-commit hooks can help tackle the need to apply code standards before changes are committed.
Ultimately, if a minimum set of standards cannot be enforced, what would the likelihood be of sensitive information like secrets being committed to your code base and going undetected.
In part 2, we’ll look at how we can detect secrets via a pre-commit hook, helping developers and teams spot and prevent issues early in the development process.
Thanks for reading and see you in part 2.